The Only Time I Use Shutter Priority Mode
Most of the time, I live in aperture priority mode. It gives me creative control over depth of field, letting me decide how much of the scene stays in focus. But when the sun dips below the horizon or light becomes scarce, I find myself reaching for shutter priority mode. Here’s why—and how—I use it. Just as a reminder, I am a street/travel/everyday photographer. I don’t shoot fast paced sports, fashion or anything commercial.
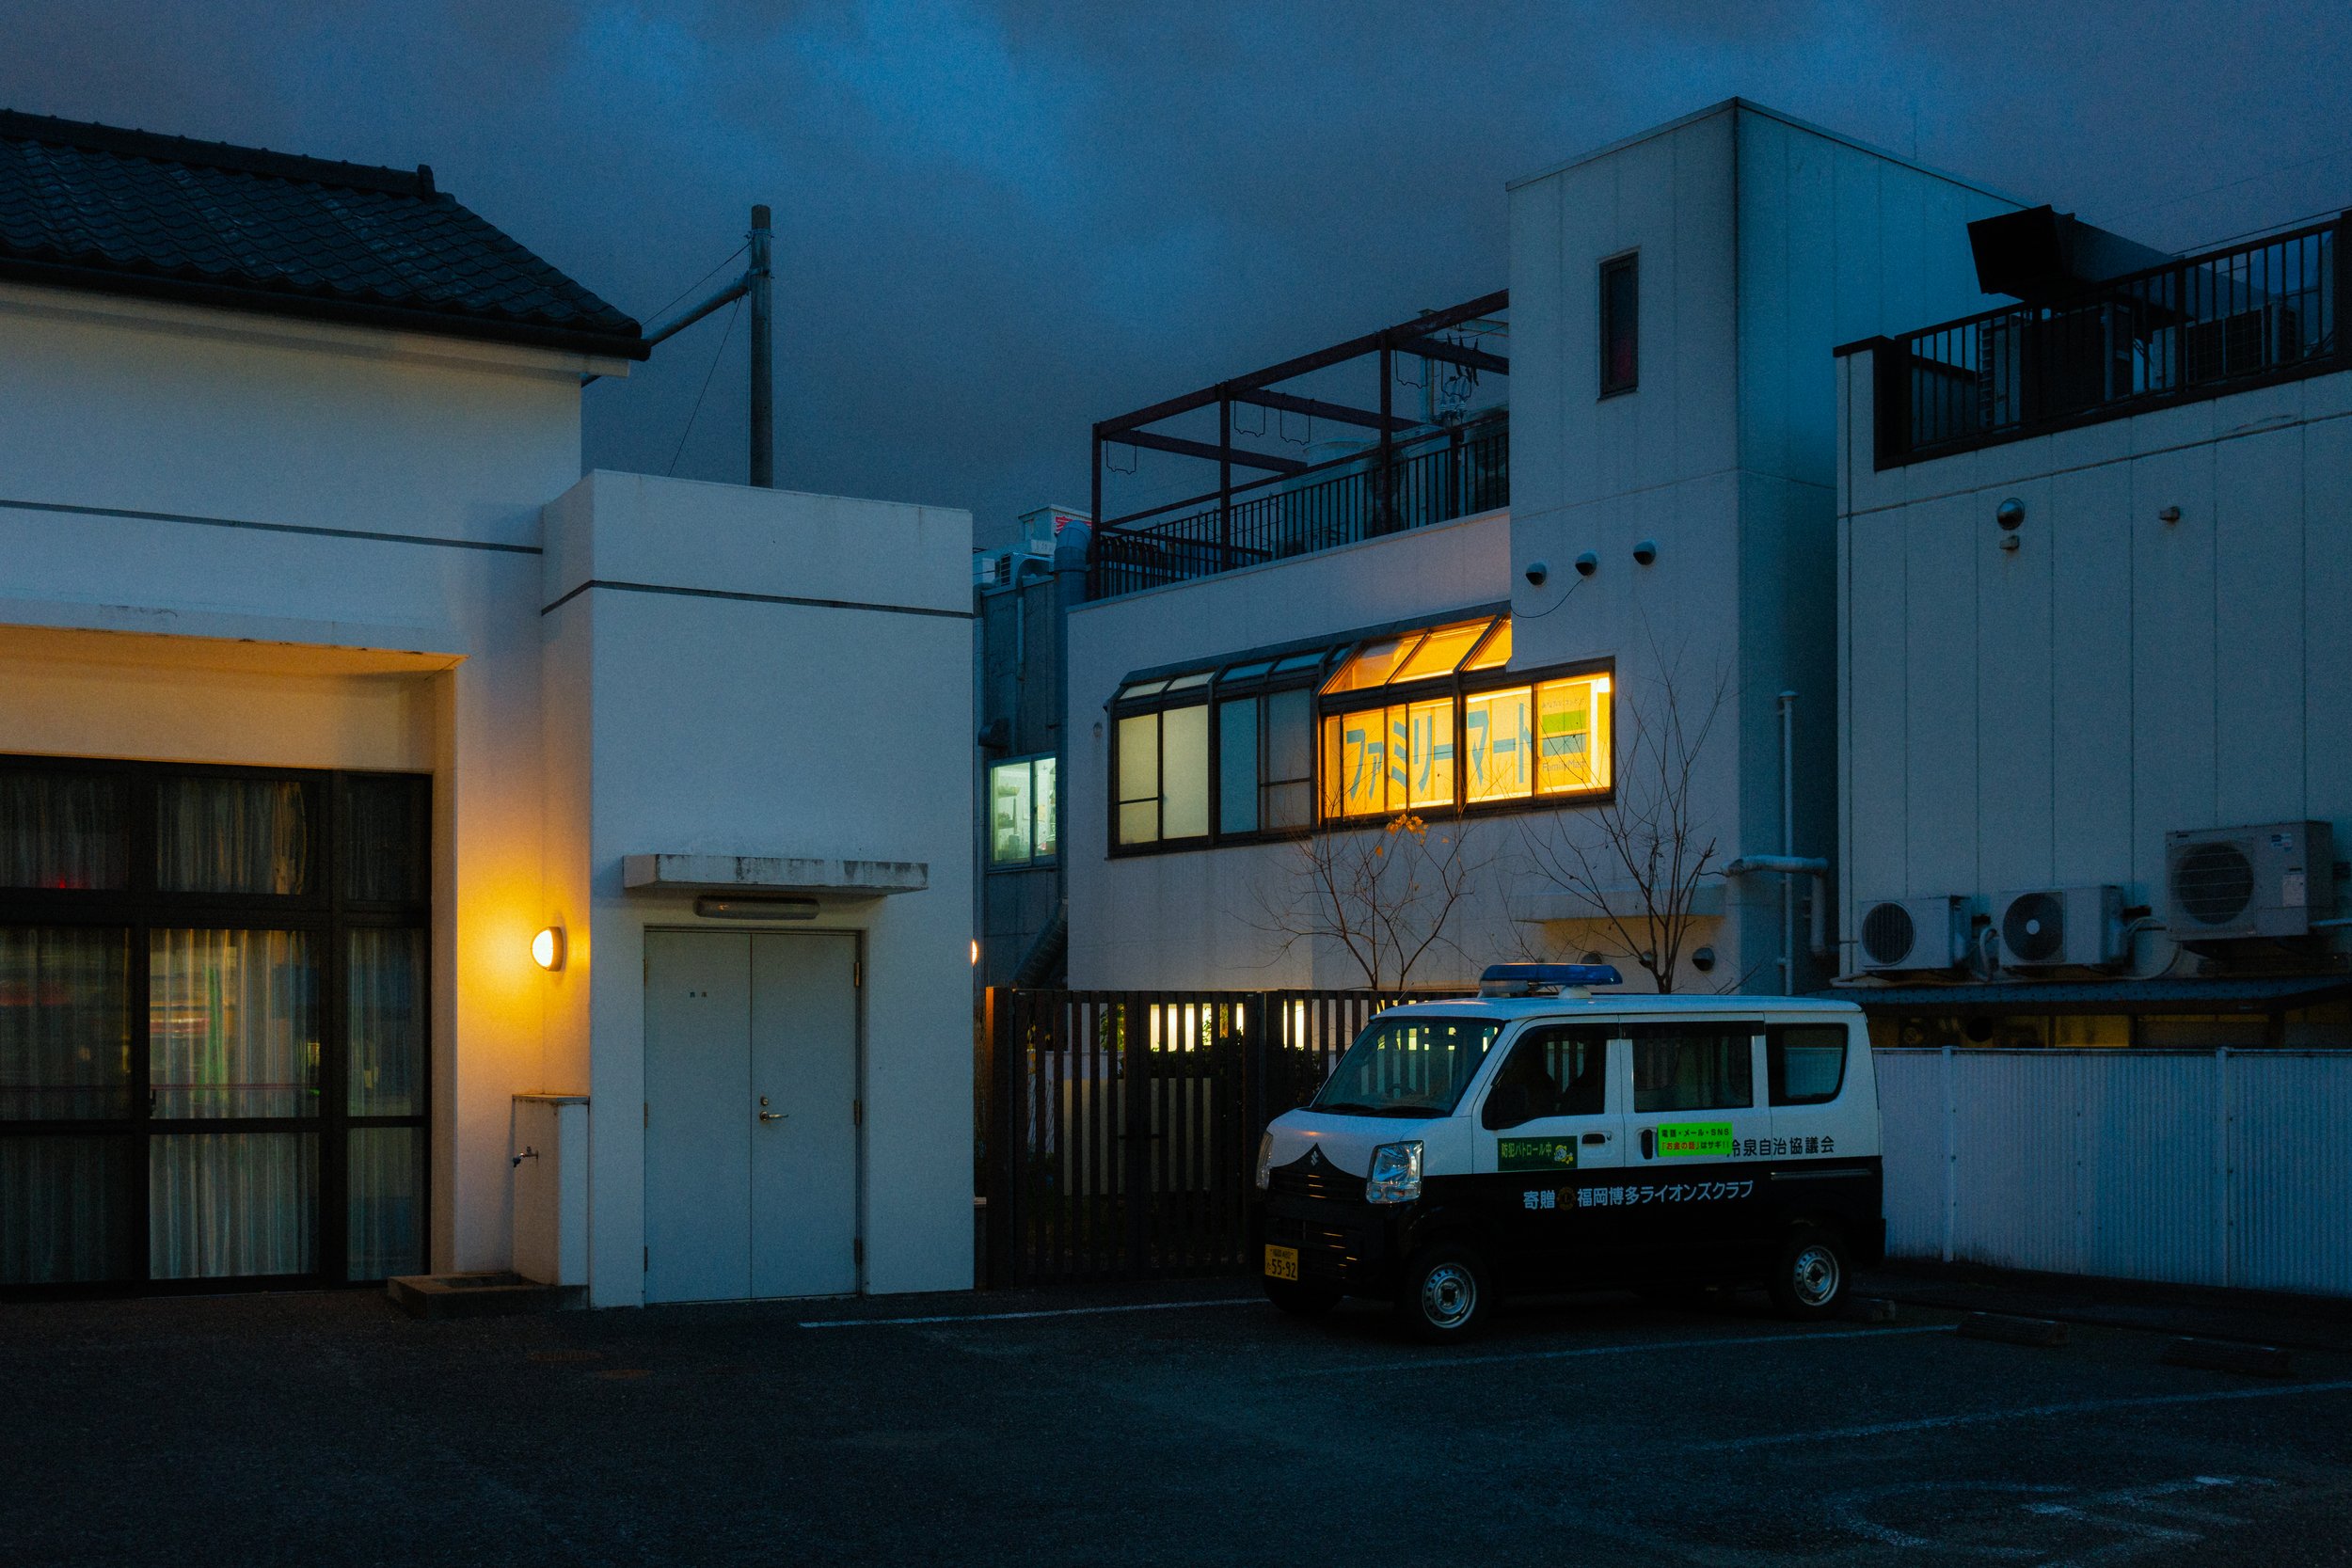
ISO 400, SS 1/20, F2.8
When Light Fades, Priorities Shift
In low-light situations, my lens’s aperture becomes less of a creative decision. Instead, shutter speed takes center stage. It’s the key to balancing exposure while adapting to the movement in a scene. Since I use AUTO ISO, I let my camera handle sensitivity adjustments and focus on setting a shutter speed that matches my subject or shooting style.

ISO 160, SS 1/30, F2.8
Shooting Still Life
For static subjects, I’m comfortable with slower shutter speeds—sometimes as low as 1/10 of a second or lower. I rely on the in-body image stabilization (IBIS) of my camera and use burst mode to increase my chances of capturing a sharp frame. This method lets me maintain lower ISO levels, preserving as much image quality as possible.

ISO 2000, SS 1/2, F2.8
Capturing Motion
When photographing people or moving subjects, freezing motion—or intentionally introducing motion blur—becomes my priority. I adjust the shutter speed based on the effect I’m after. A fast shutter speed freezes movement, while a slower one adds artistic blur. Either way, I let ISO climb as needed, knowing that noise doesn’t bother me much.

ISO 6400, SS 1/125, F4.5
Noise: An Aesthetic Choice
Rather than fighting noise, I lean into its gritty texture. I rarely spend time removing noise in post-production, instead embracing it as part of the image’s character. In fact, I often go a step further and add grain during editing to enhance the mood and feel of my photos. That said, I sometimes use the standard noise reduction tool in Lightroom. While this can soften the image significantly, I add grain and sharpness on top of it to regain texture and control the look of the grain. This approach gives me more control over the final texture of the grain, rather than relying on the camera’s native noise.

ISO 200, SS 1/40, F2
Support me and this ad-free blog by having a look at my products below